Painting Wood Paneling
For a faster, more profitable home sale

Painting wood paneling can be very rewarding. If your home suffers from wood paneling mania of the past and you can't afford to replace it, don't despair!
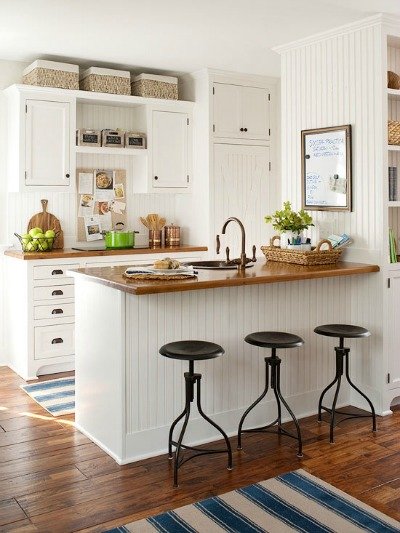
If the wood paneling is in good condition you can often paint right over it with great results, as in the photo above.

If you're thinking about taking the paneling down, consider this... the paneling may be concealing wall damage underneath.
Do you really want to open up that can of worms?
The use of paint colors like a crisp white, a soft robin's egg blue, or practically any other light neutral paint color, can give any room in your house that cozy cottage or farmhouse look that so many people love.
This is added value to your home.
I lived in a house in the 70‘s that had dark faux wood paneling in every room. It was depressing and I was determined to do something about it.
This was my “experimental” home, where I learned how to wallpaper, texture walls, (yikes!) put up chair rail molding and paint over wood paneling...all before the internet was there to guide me.
I even wallpapered a ceiling once! Was that ever a mistake! And what a lot of work.
I had never heard of painting over wood paneling, so I just stumbled my way along. Thankfully, my instincts were right.
I made a few faux pas along the way, but overall, was pleased with the results. I do regret the textured walls, though.
Preparations for painting wood paneling
Tools and supplies for painting paneling

- TSP, (trisodium phosphate) or a mixture of mild detergent & water
- Tack cloth or damp rag

- Spackle or joint compound, putty knife
- Interior latex paint, satin finish for final coats
Painting wood paneling

Be forewarned...painting wood paneling is permanent. You cannot undo it!
1. Remove all switch plate covers from the wall. Mask off the ceiling, trim, baseboards and windows.
Be sure to protect the floor with a drop cloth.
2. Wash down the paneling with TSP following the manufacturer’s instructions. If the paneling is really slick, use a de-glosser as well, otherwise the paint may not stick.
Look for TSP with de-glosser included. Wear gloves and eye protection while using this product.
3. With a spackle and putty knife, fill any holes and defects. (Try my favorite spackling product, Dap Drydex, available at home supply stores.
It goes on pink and turns white when dry and ready to be sanded.)
4. When dry, sand the spackled areas so they are flush with the wall surface. Sand the paneling with 100 grit sandpaper.
A pole sander or sanding block will make this job easier.
Don't over sand-- you just want to roughen the surface for better paint adhesion.
If you plan on painting the trim work, (baseboards, door and window trim) sand it, as well.
Wipe any remaining dust off with a tack cloth or damp rag.
 Ceiling and floor have been painted in white and a soft gray neutral color. This monochromatic room is so charming.
Don't over sand-- you just want to roughen the surface for better paint adhesion. If you plan on painting the trim work, (baseboards, door and window trim) sand it, as well.
Wipe any remaining dust off with a tack cloth or damp rag.
5. If you see any gaps between the trim work and paneling, apply some caulk and let it dry completely before painting.
6. Use a roller and brush to apply the primer paint to the paneling. Roll first, then brush. Use your brush to work the paint into the paneling grooves.
Use a brush to paint the trim work. Let dry completely.
7. This step is only for those who want to fill in the grooves to create a flat wall effect. AFTER PRIMING, and when paint has dried, take your spackle and putty knife and fill in all the grooves.
This process is very labor intensive. When the spackle is dry, sand it smooth.
8. Paint in the same manner with an interior latex paint. Again, work the paint into the grooves with a brush AFTER you roll the paint on. Let dry and repeat with another coat of paint.
On the second coat, don't use a brush (except for cutting in next to moldings and in corners). This will prevent brush marks from showing on your finished surface.
Watch the amazing kitchen transformation in the video below by johnpetersilk! Notice how the room seems a bit larger with the lighter color.
You may also like:
Small bedroom decorating ideas
Small bathroom storage solutions
Six must-have online real estate photos
Return to depersonalizing your home
Go to home page
You may also like
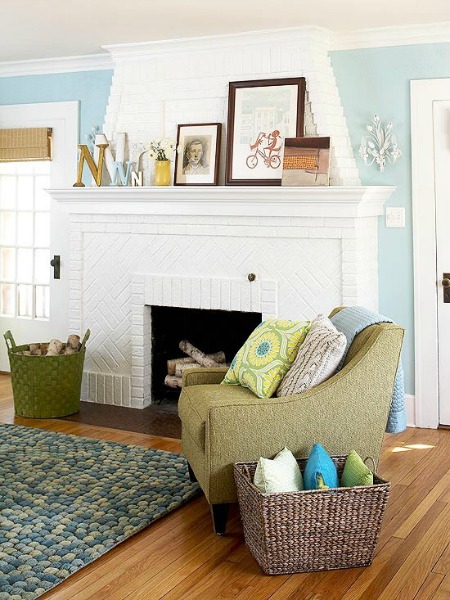
7 Beautiful ideas for painting interior brick fireplaces
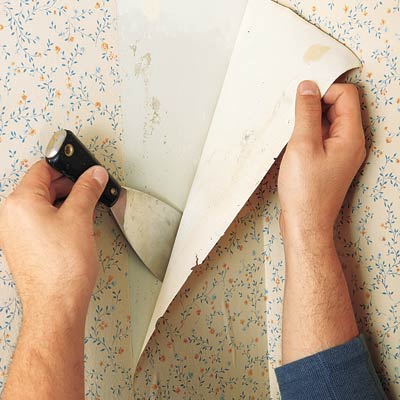
My best tips for removing wallpaper
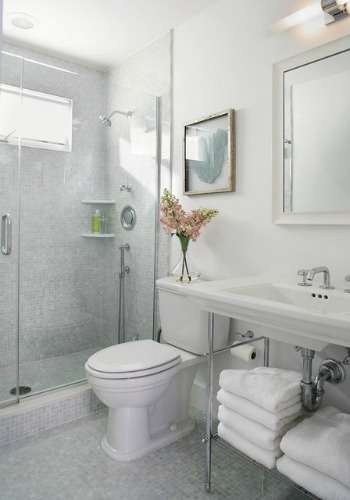
11 Great small bathroom design ideas that will sell your home
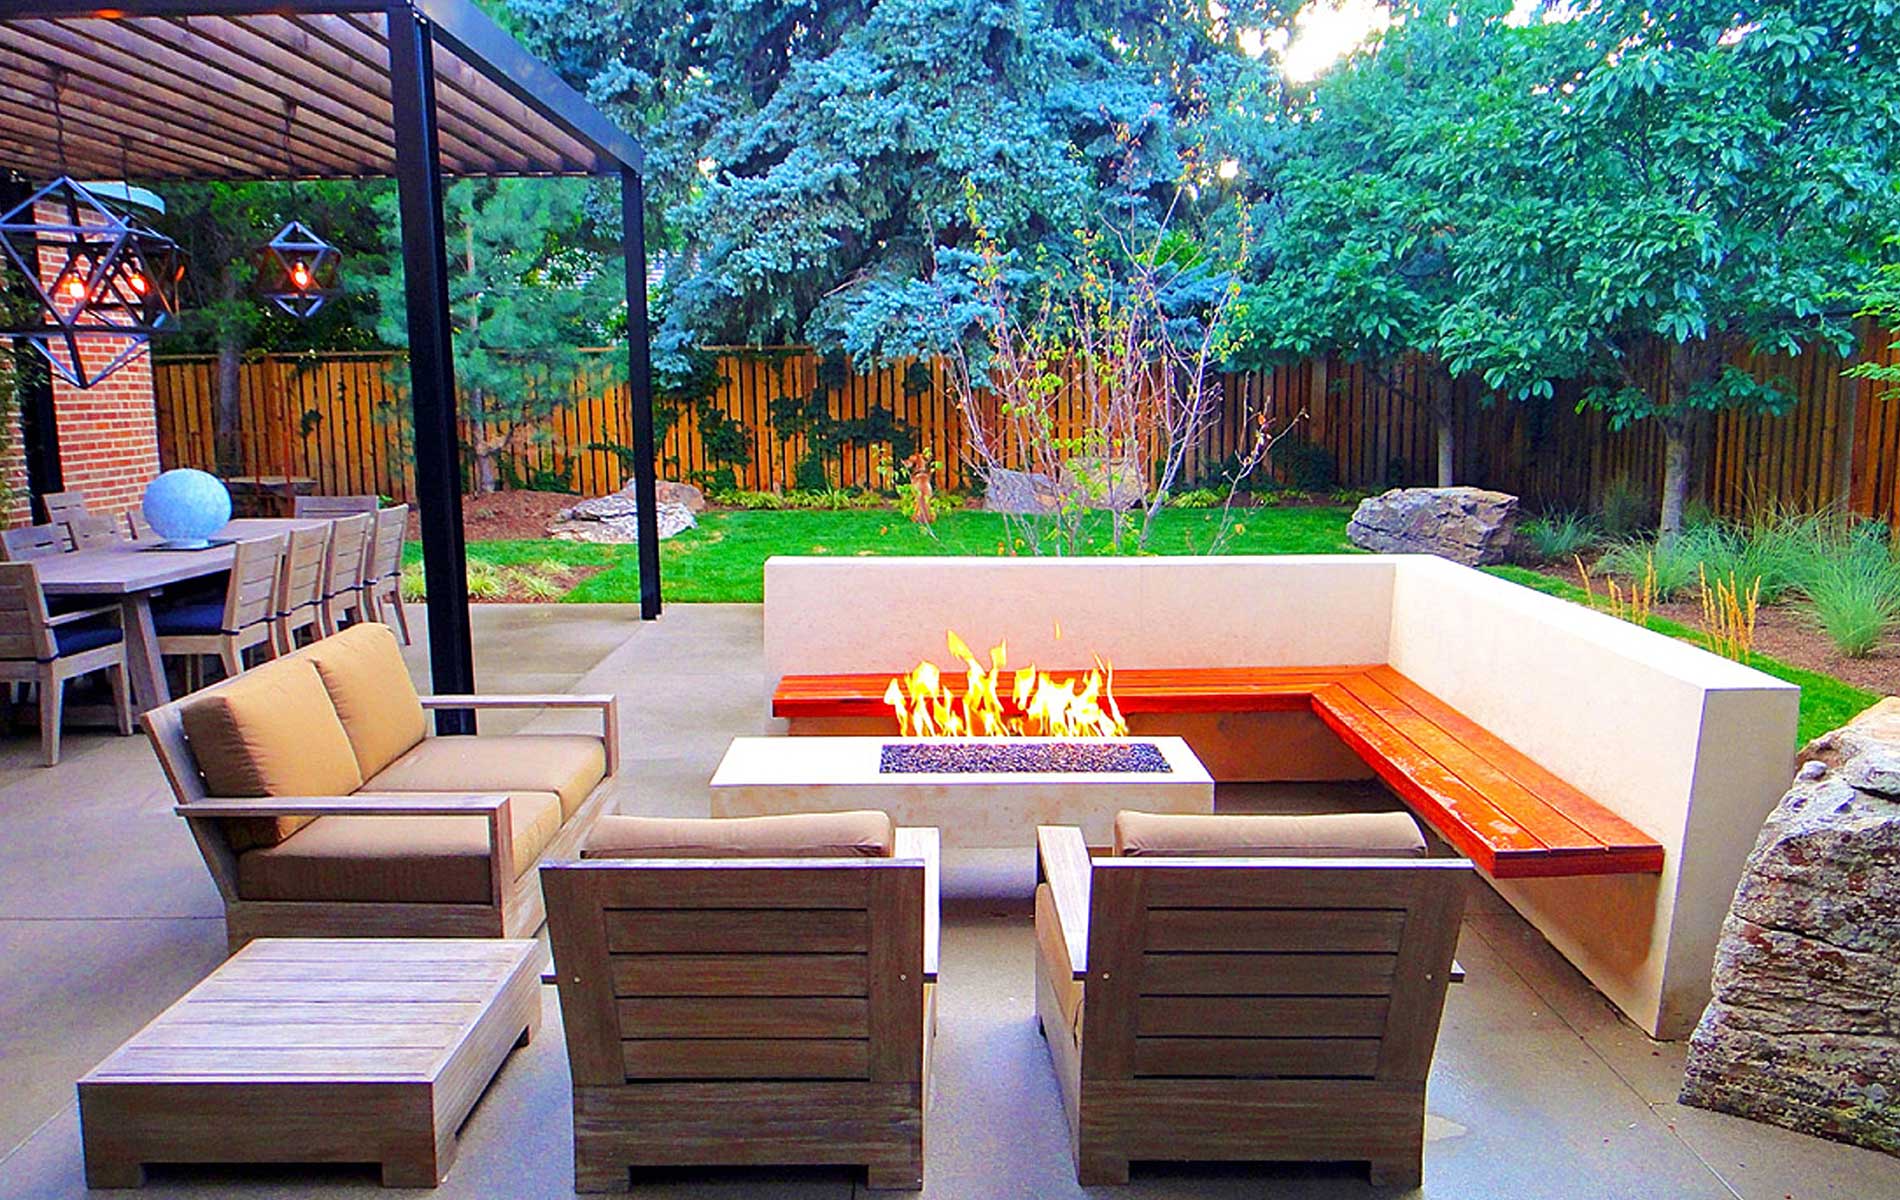
How to create an outdoor living space that buyers will love
15 Great small kitchen decorating ideas that buyers will love
Holiday home staging - a good time to sell your house